Tutorial: Shield Weathering
I. What does weathering accomplish?
In this tutorial I'm going to briefly cover how to use basic weathering techniques to give a battle-damaged, muddied look to shields, specifically sponge weathering and powders. In doing so, I've tried to illustrate some really basic weathering techniques I think everyone can benefit from, whether you normally go for the 'grimdark' look or not - the more techniques you know, the more fun you can have painting your minis. This is just a simple, entry-level tutorial on how to do basic tabletop standard weathering that looks good and gets the job done.
First things first - although it may seem excessive for a painting tutorial, I think it's worth considering the 'story' a model tells. What do you want your model to convey? What kind of story do you want it to suggest to the beholder? Where is the model? Who (what) are they fighting? Simple questions, but they help to give a bit of direction to your painting, and can create a lot of consistency across a force. If you're like me, the parade-ground 'clean' look is a bit jarring when most battlefields tend to be full of mud, blood and filth, so it's good to have an idea why you want your minis to be weathered and what story the weathering is trying to tell.
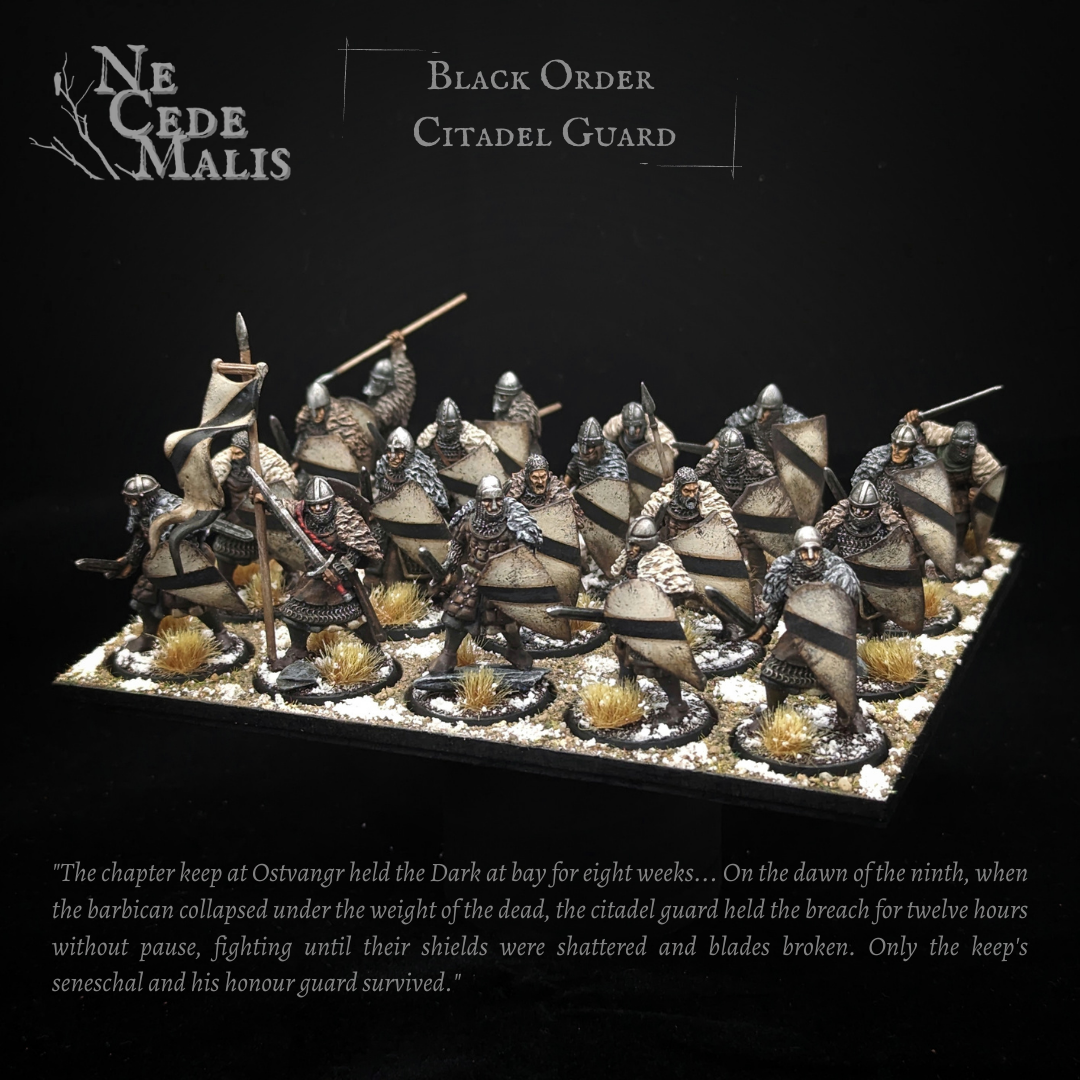
In the case of my infantry above, these guys are a professional body of infantry named the Citadel Guard, responsible for protecting the chapter keeps and cities held by the Black Order. When putting this unit together, I'd been inspired by a blurb for a past character I wrote, and thought to myself 'hey, let's make a unit for the guys mentioned here':
"The chapter keep at Ostvangr held the Dark at bay for eight weeks... On the dawn of the ninth, when the barbican collapsed under the weight of the dead, the citadel guard held the breach for twelve hours without pause, fighting until their shields were shattered and blades broken. Only the keep's seneschal and his honour guard survived."
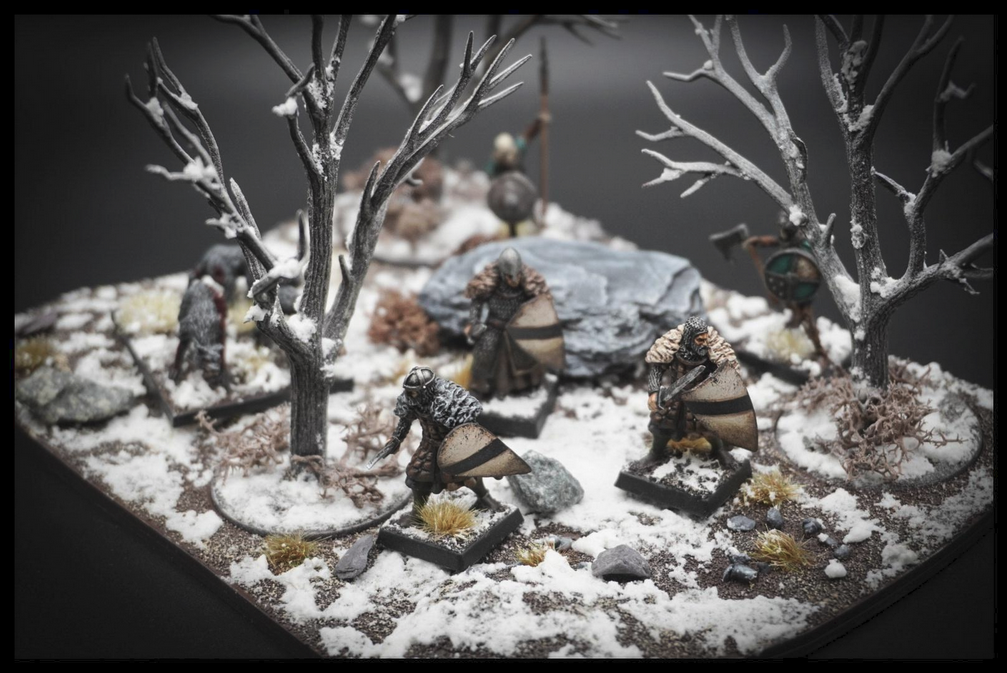
So the Citadel Guard are fighting at the bitter end of a siege, and should have an appropriately hard-bitten, war-torn look as if they're in the last moments of a climactic battle. The barbican's collapsed, the Dark is surging into the breach, and the only way out is to fight or die. Their shields would be covered in scratches, mud and dust from collapsing masonry, the claws of their foes, and the dirt of a months-long siege. Let's try to reflect that on the miniatures!
II. What you need
Materials:
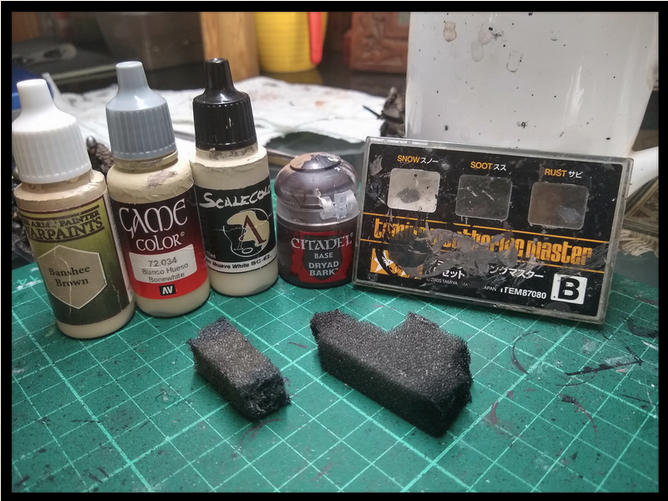
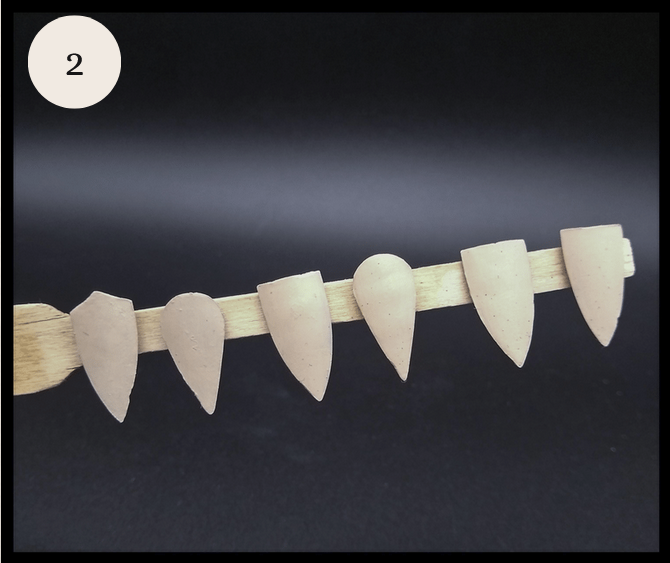
- Sponge foam (I recommend leftovers from 'pluck foam' carry cases - I used offcuts from Battlefoam here as it's very sturdy foam, but softer stuff will do, like the foam you find in single-mini blisters, or KR Multicase's foam. I'd recommend cutting the pieces you use into 2" long chunks (roughly as seen here) for ease of use.
- Weathering powders - I use Tamiya, but any manufacturer would do.
- Paints (base colour, highlight, extreme highlight, mud/damage colour)
The paints I've chosen above represent: 1) the base colour for the shields on my Chapterhouse Guard; 2) a highlight colour; 3) an extreme highlight; and 4) a colour to represent mud and damage. Since we're keeping it simple, Citadel Dryad Bark (a very dark brown) for both mud and damage works fine since the shields are wooden. A dark grey would work as well for damage. We're going to be weathering these shields pretty heavily, so the highlight colpurs need some extra intensity to stand out. I've gone with Army Painter Banshee Brown as base, then Vallejo GC Bonewhite and finally Scale 75 Mojave White.
III. Getting Started
OK, on to the models. I've gone with the Fireforge Spanish Heavy Infantry set with green-stuffed fur pelts using a Green Stuff World texture plate, some helms from the Fireforge Spanish, Russian and Templar sets and shields from the Fireforge Templar Infantry set. That matches the 'western with eastern influences' look I generally try to achieve across the Order.
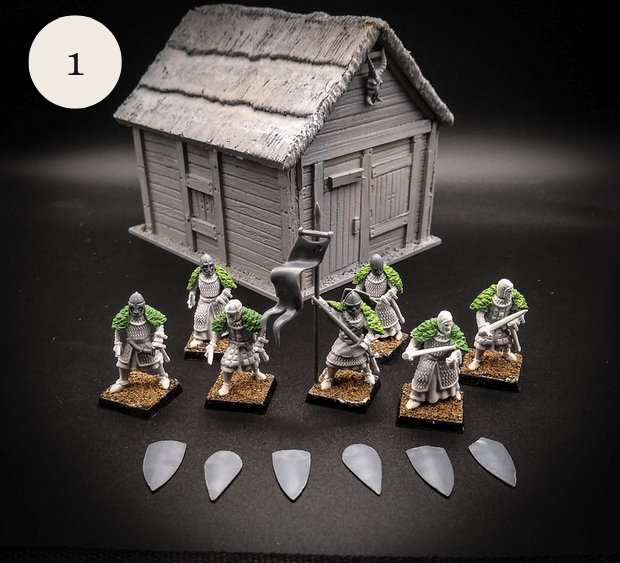
I'm keeping the shields separate for this tutorial, but depending on the models I usually glue them on to the minis for painting (unless they're holding them really close to the body). I undercoated the shields with Vallejo Grey Primer and then basecoated with Army Painter Banshee Brown. This is a pretty thin paint, so it'll take 3-4 coats to get full coverage.
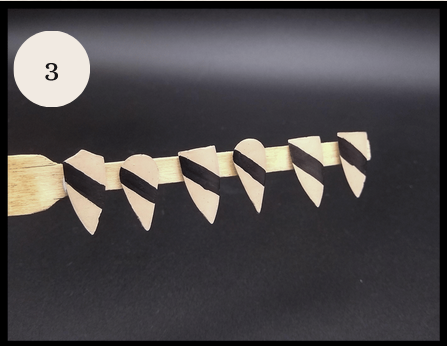
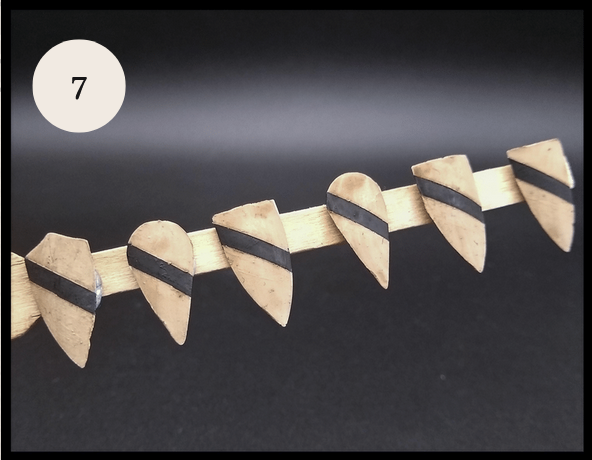
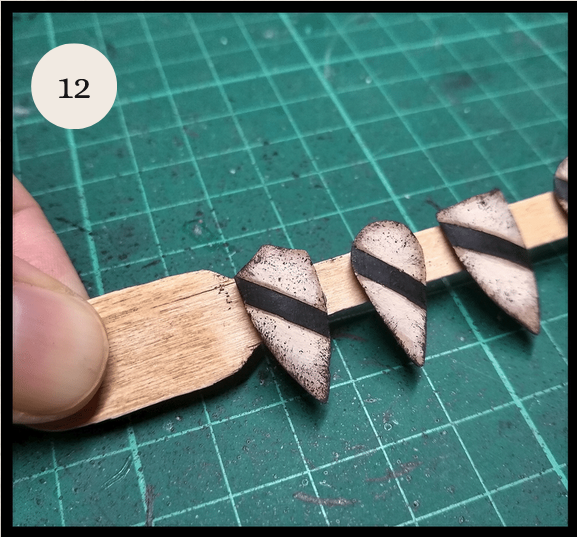
Now for the chevrons. Using Army Painter Matt Black, I brushed on a rough line about 1.5x-2x the thickness of the desired final stripe. No need to be super accurate here, we're going to tidy this up really soon...
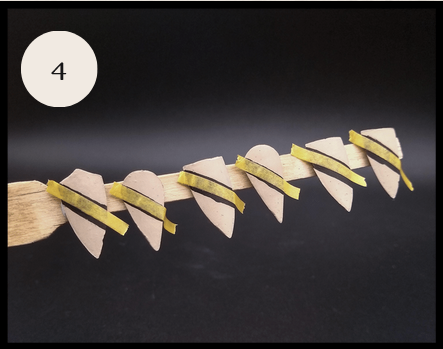
Using Tamiya Precision Model Masking Tape (3mm), I now cover the area I want to keep black (i.e. the chevron itself), making sure the tape is COMPLETELY adherent to the shield.
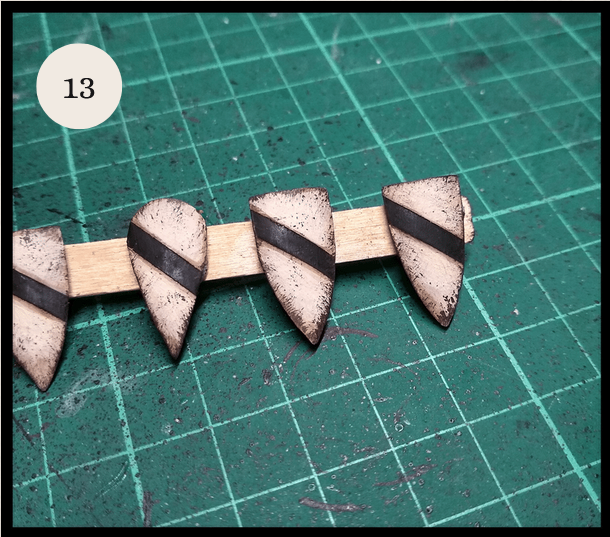
Ensuring the tape is fully flush, I went back over the excess black areas with AP Banshee Brown (my base colour). I'll probably do 2-3 coats to get full coverage. Keep your paints thin here.

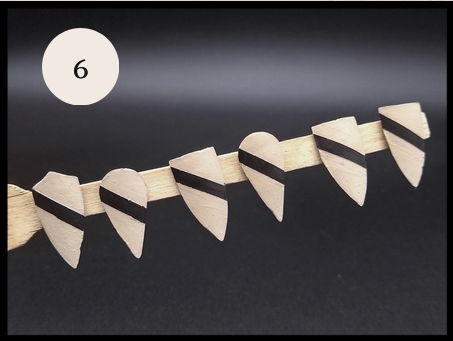
Once I'm satisfied the excess black has been tidied up, and the shields are a nice uniform bone colour again, I slowly peeled off the tape. You want to be quite delicate in peeling off the tape or you'll take some of the paint off with it. You'll probably get some black paint chip off at this stage anyway - just carefully fill it back in with a detail brush.
Once that's dry and any mistakes have been tidied up, I coated the whole shield with a slightly thinned coat of Citadel Agrax Earthshade. This is going to create the basis for the shield's weathered look and is crucial for creating a bit of depth.
Now to start adding highlights. I splotch on Vallejo Game Colour Bonewhite in fairly uneven patches above and below the chevron, leaving large areas of base colour still visible around the edges of the shield.
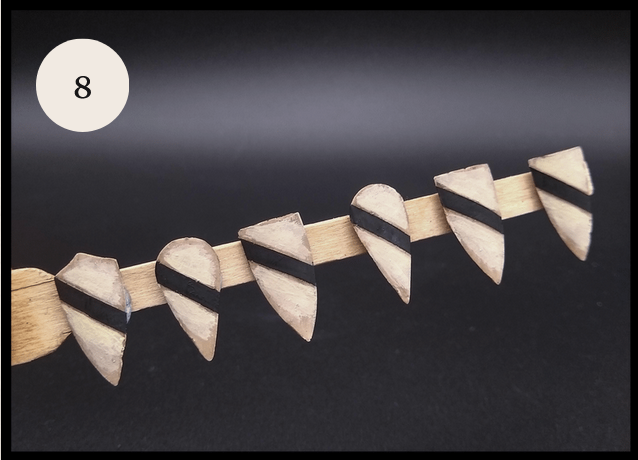
Once that's dry, then I go straight to the final highlight, this time with Scale 75 Mojave White (the brightest colour I'm going to use). This should be in smaller uneven patches in the centre of the shield, leaving patches of base colour and the first highlight colour visible. Done right, the shield should already start to take on a blotched, weathered look as if it's been a while since it's had a fresh coat of paint, with a lot of dirt and damage around the edges.

Now for the actual weathering! I've used a piece of pluck foam from an old Battlefoam case, but any foam will do. Harder foam is easier to control than soft foam. Dab the end of your foam into the 'mud/damage' colour (GW Dryad Bark here) and wipe off AT LEAST 95% of it until it's barely visible. 'Do a lot with a little' is the adage here.
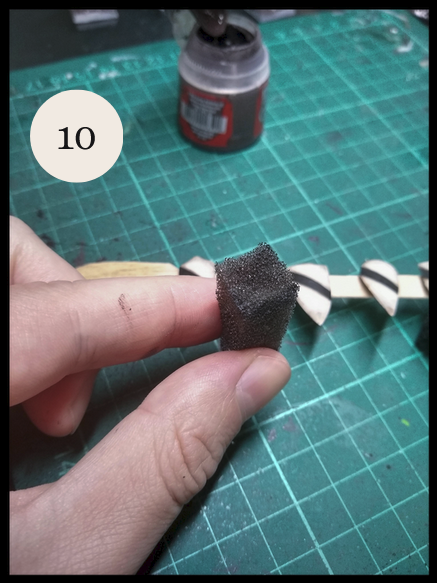
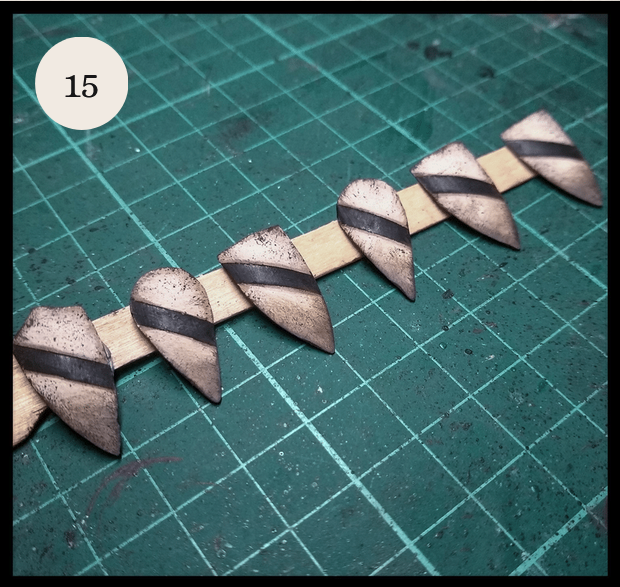
Here's the fun bit. Hold the foam at 90 degrees to the shield (side on to the shield) and start to gently pepper around the shield's edges with a soft tapping motion. Done right, you should get a mix of fine streaks and spots. I do this 2-3 times for each shield. You'll know very quickly if you left too much paint on the foam!
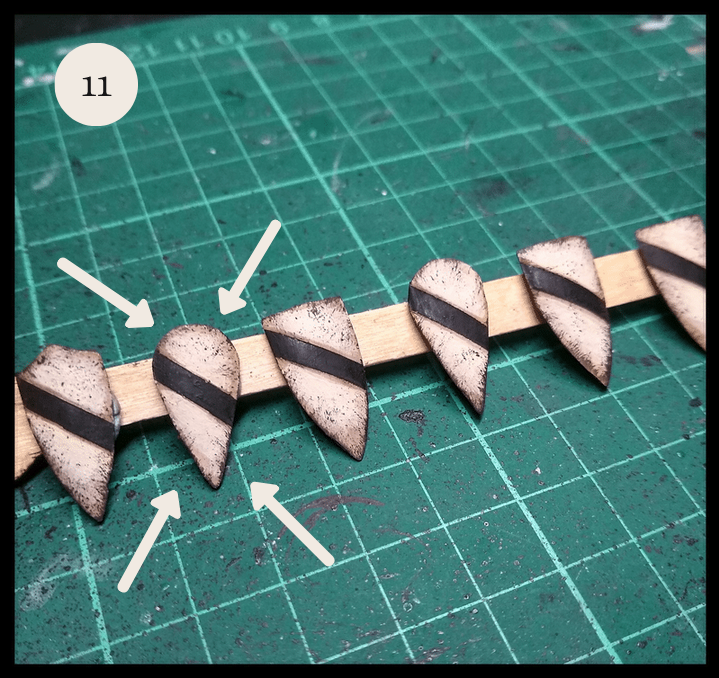
This is after 2-3 rounds of gently peppering each shield, from all angles, with the muddy sponge. For some extra variation, I've also very lightly peppered each shield directly face on, as if from the direction of an enemy's blade or arrow.
Almost the final step. Now I've opened up a (well used...) weathering powder box, also from Tamiya, and started mixing together Rust and Soot powders (the brown and black powders in the pic). I want the weathering stick to be really caked with powder, because...
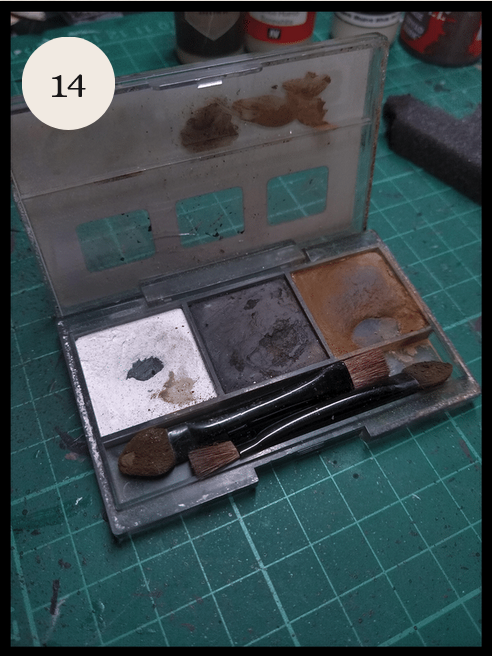
... I'm going to really go to town on the bottom of each shield with the weathering stick. This is to give the illusion of mud and dust everywhere, as formations clash and retreat and the ground is churned to mud.
Once this has dried, I glue the shields on to the minis and give them a light blast with Colour Forge Matt Varnish. You can expect 40-50% of the weathering powder to be lost to the spray varnish, hence why I recommend caking it on fairly heavily in the first step.
IV. Results!
And there we have it! Once the shields have been glued on to their bearers and varnished, they're ready for gaming. Hope this was useful - feel free to give me a shout if anything wasn't clear or if I can help with better pics/advice.